BassDrumOttoman
Bass Drum Ottoman
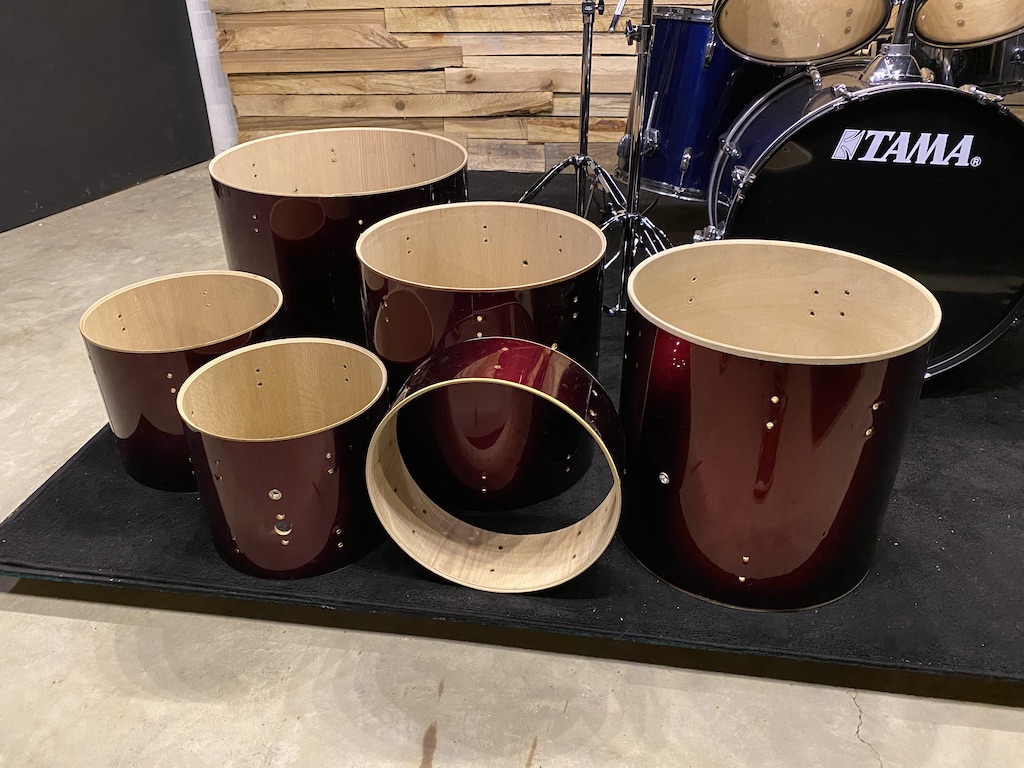
I bought these drum shells to do some sort of project with, maybe make furniture or an art project or something. My wife and I were re-working our living room and basement and she wanted an ottoman to go along with a new couch that we bought. She suggested a bass drum ottoman and I was all for it. I purchased the shells used for $30. They didn't have any hardware, just the wrap.
Drum shells before working on them.
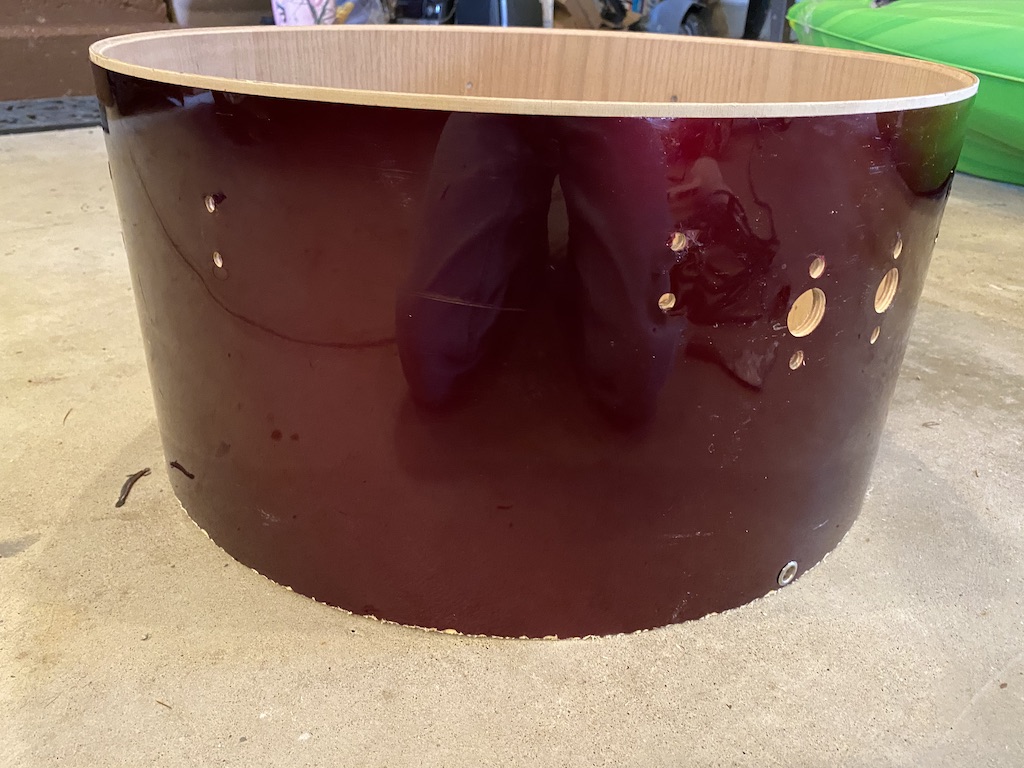
 I used a table saw to cut bass drum to make it shorter. Measuring was interesting. We sat on the couch and found something that was the height that we liked, then we measured the height of all of the parts except for the drum itself. We measured a round bottom board, round top board, and foam cushion. Then we subtracted the combined number of the materials from the height of that we wanted to get the height that the drum needed to be. I set the guard on the table saw and sort of rolled the drum around as it was being cut. I was concerned about the cut because I had never cut anything round like that before but it was very easy and problem free.
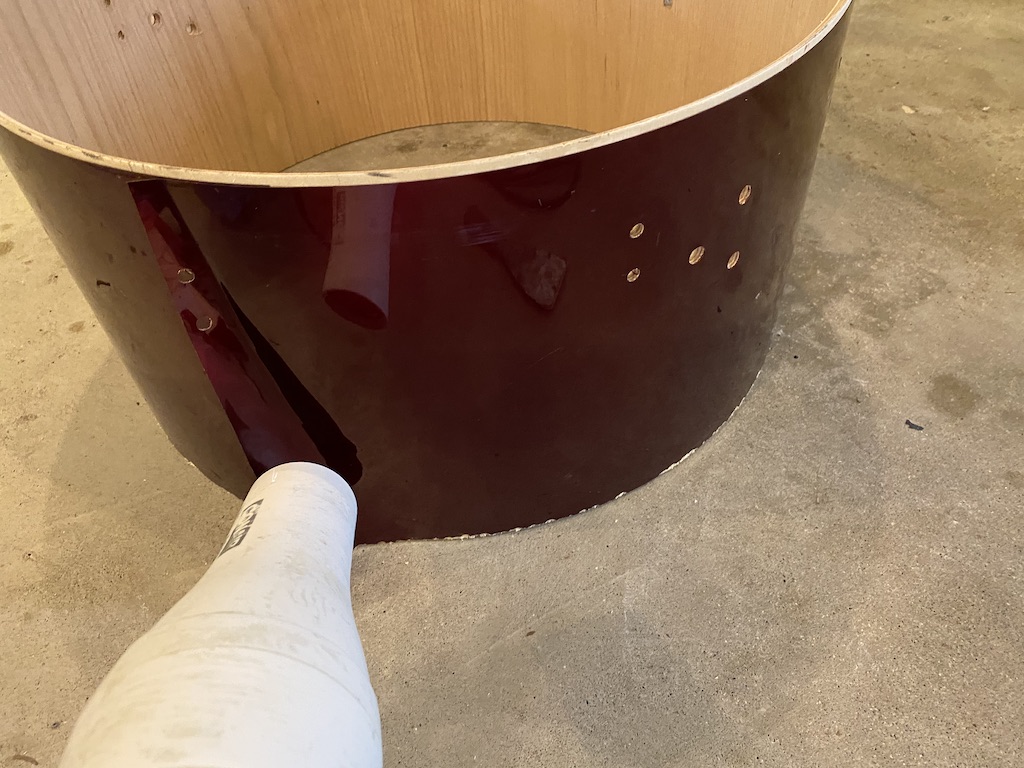
 I used a heat gun (i.e. hair dryer) to heat the wrap where the seem was to loosen the glue that was holding the wrap on.
 Ever wonder what the wrap looks like? Me too. Now you know.
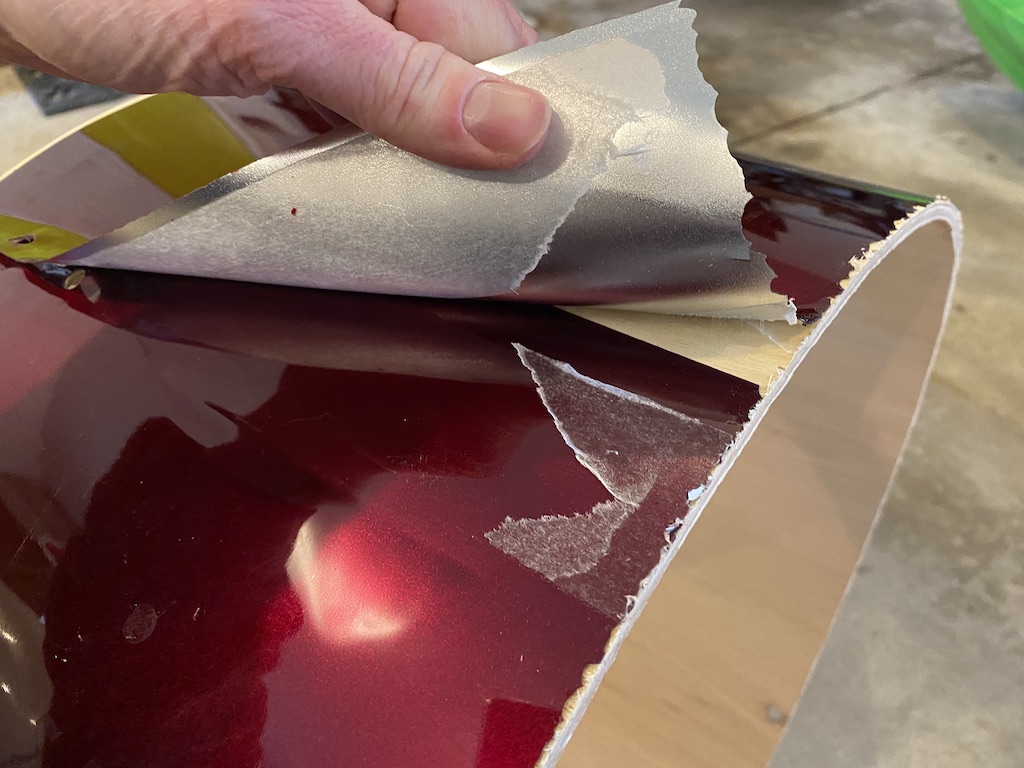 This drum set had glue holding the wrap on to the wood at the seem and where it was on top of the wrap after it went around the drum.
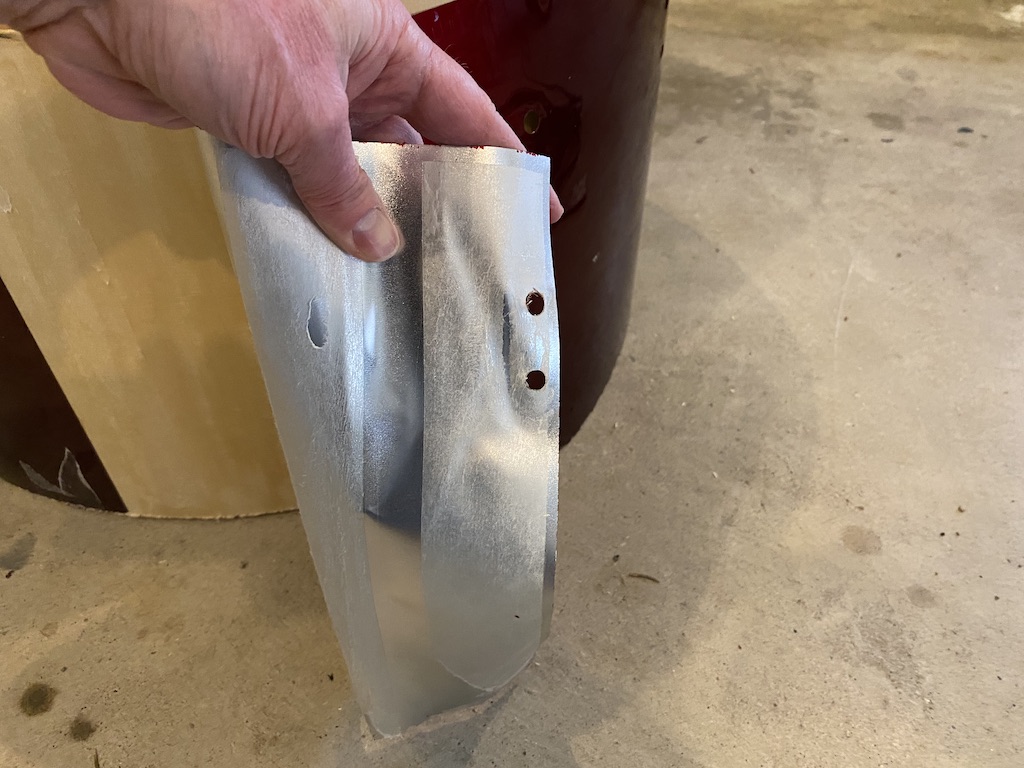 Here the wrap is mostly off of the drum. I used a putty knife to get under the seem enough to pull it off by hand.
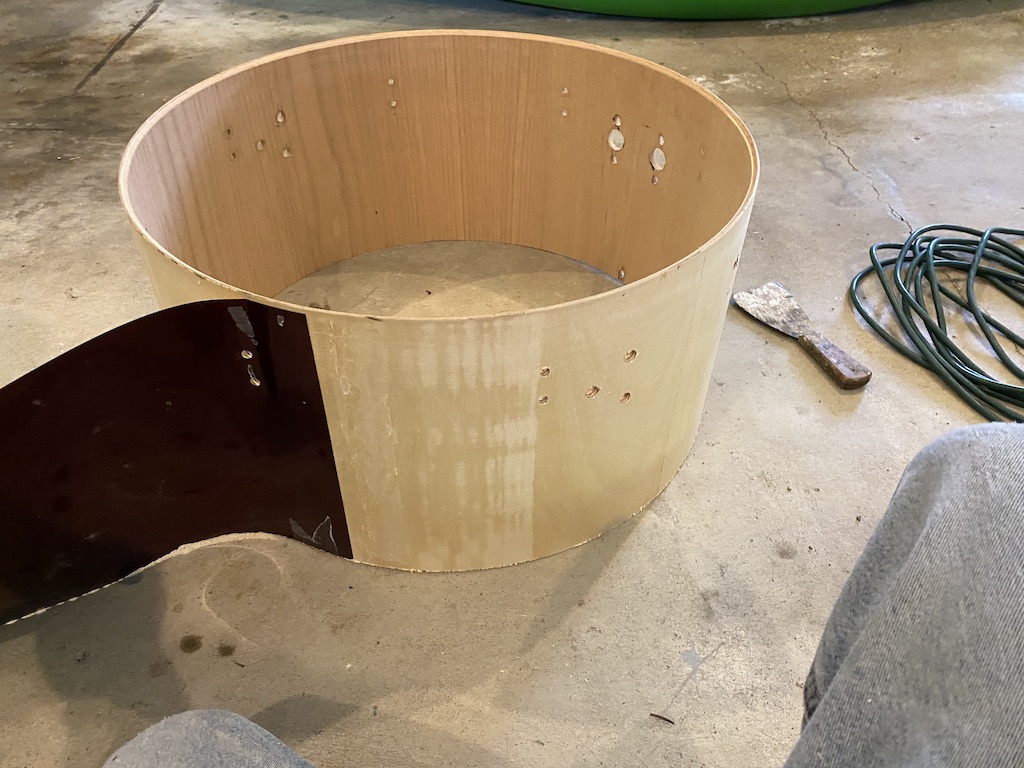 You can see the residue from the glue.
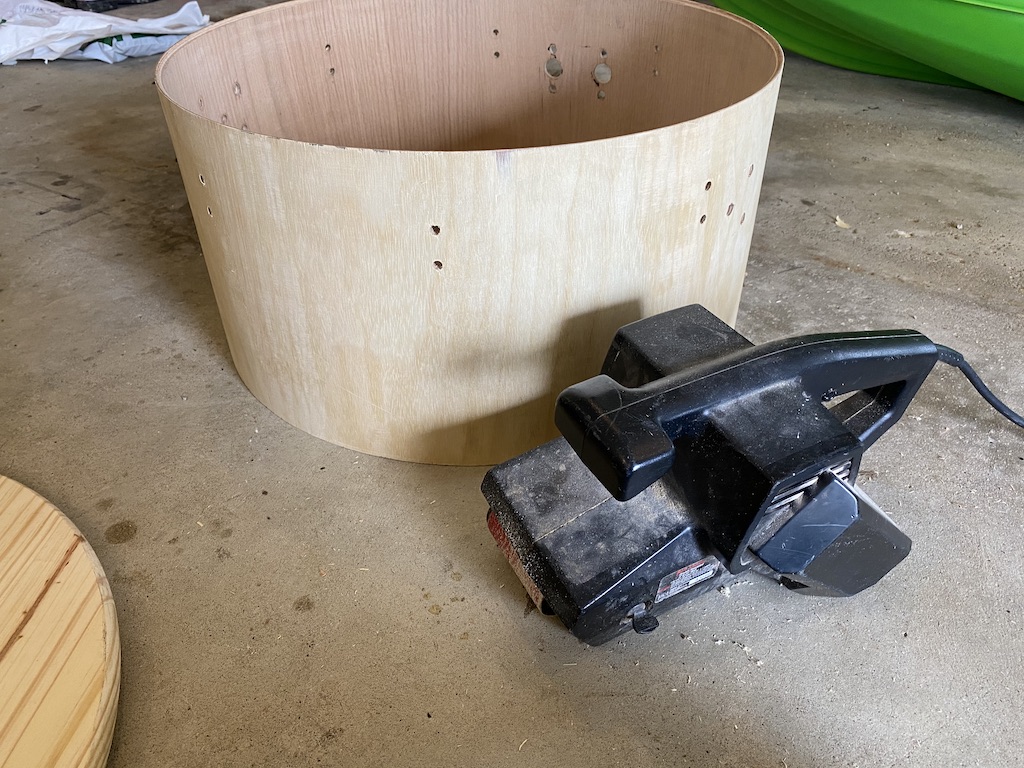
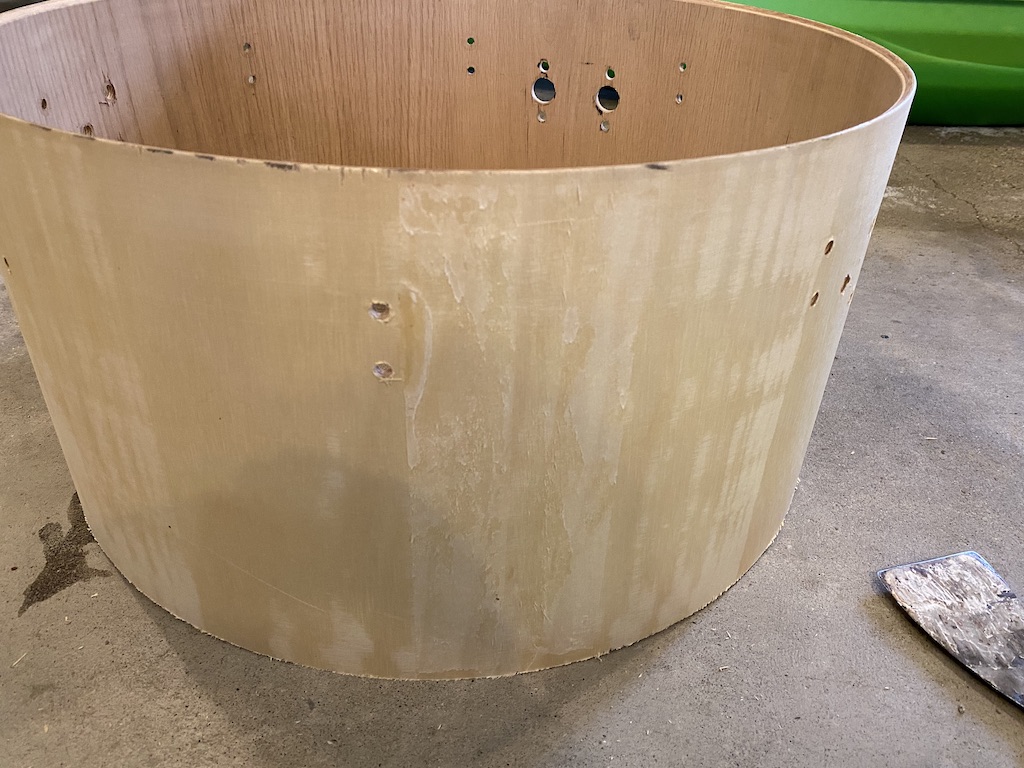 I tried a few techniques to get the glue residue off but ultimately used a belt sander to get it off and smooth out the rest of the outside of the shell.
 Dark Walnut stain was used on the outside of the shell and on the round bottom board. This was a 22 inch bass drum (which means it's 22 inches across the drum, not the height of the drum) and a 24 inch round board that I picked up from a local hardware store (1 for the top and 1 for the bottom, I only stained the bottom one).
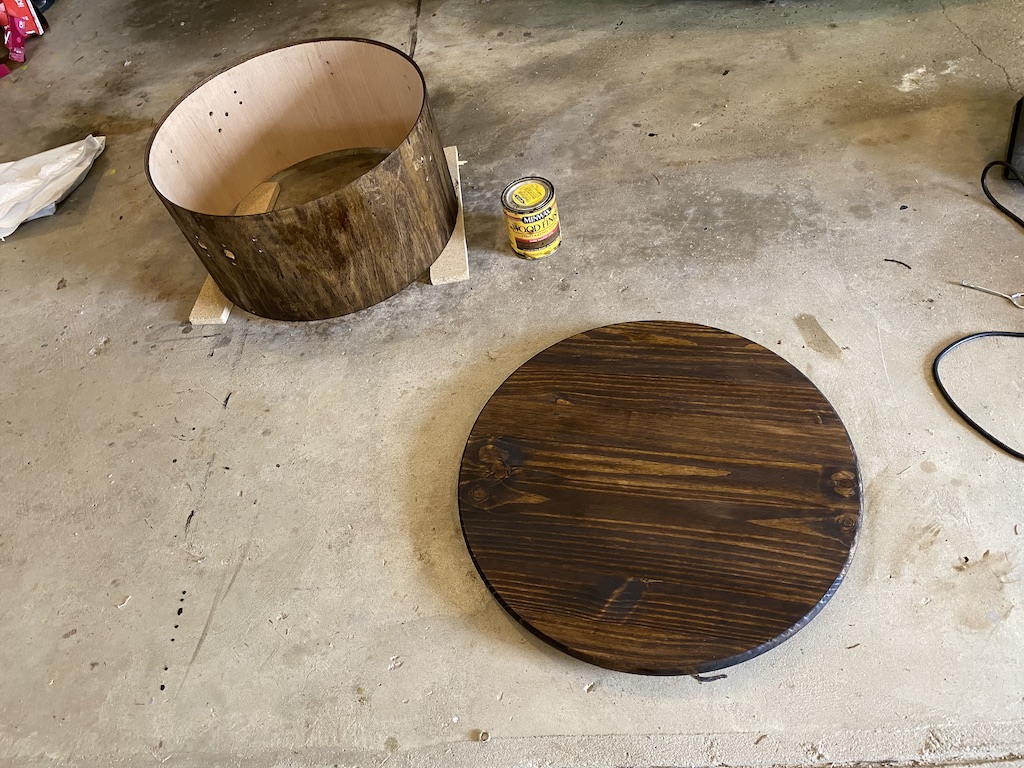 My wife purchased fabric and a 24 inch (by about 4 inches tall) piece of round foam, and we used a staple gun to hold the fabric in place. We turned the fabric over stapled it in about 4 trips around the circle.
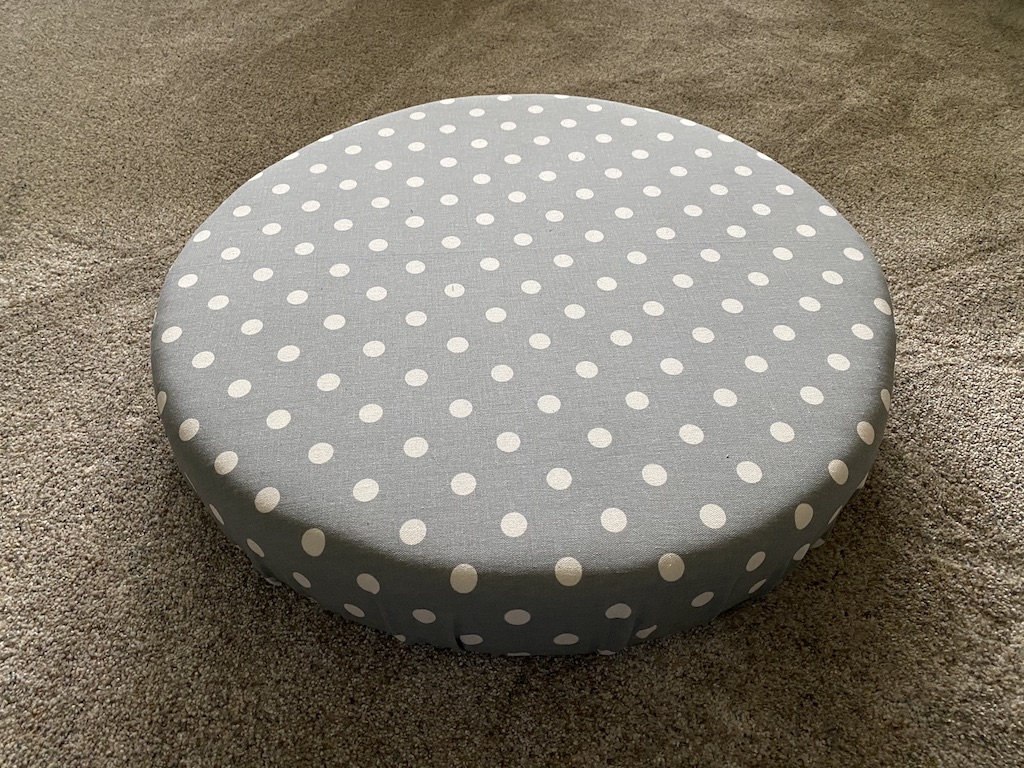
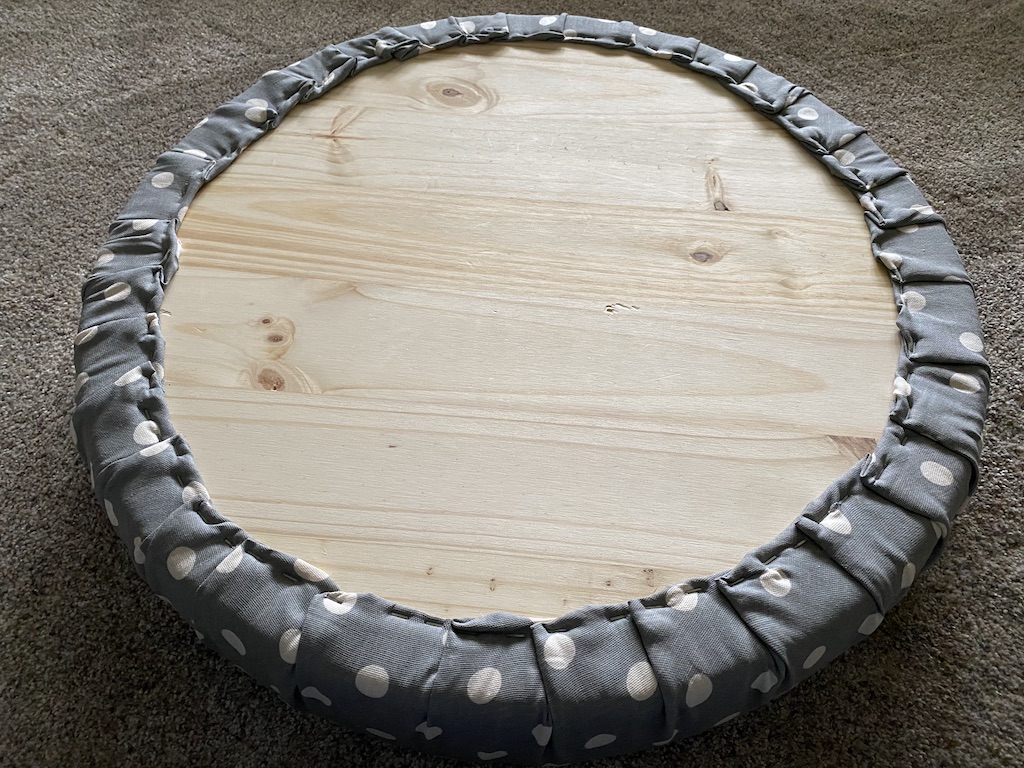 We were very happy with the top. We didn't even have to make adjustments after putting any of the staples in.
 A second coat of stain was added to the drum and bottom board.
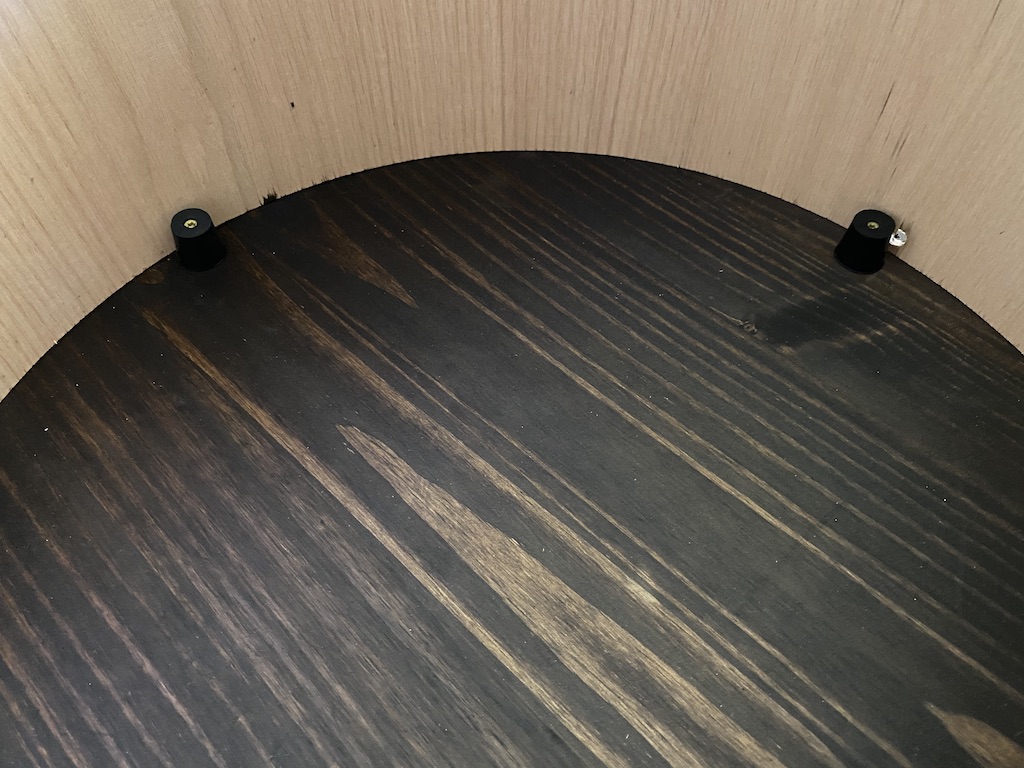
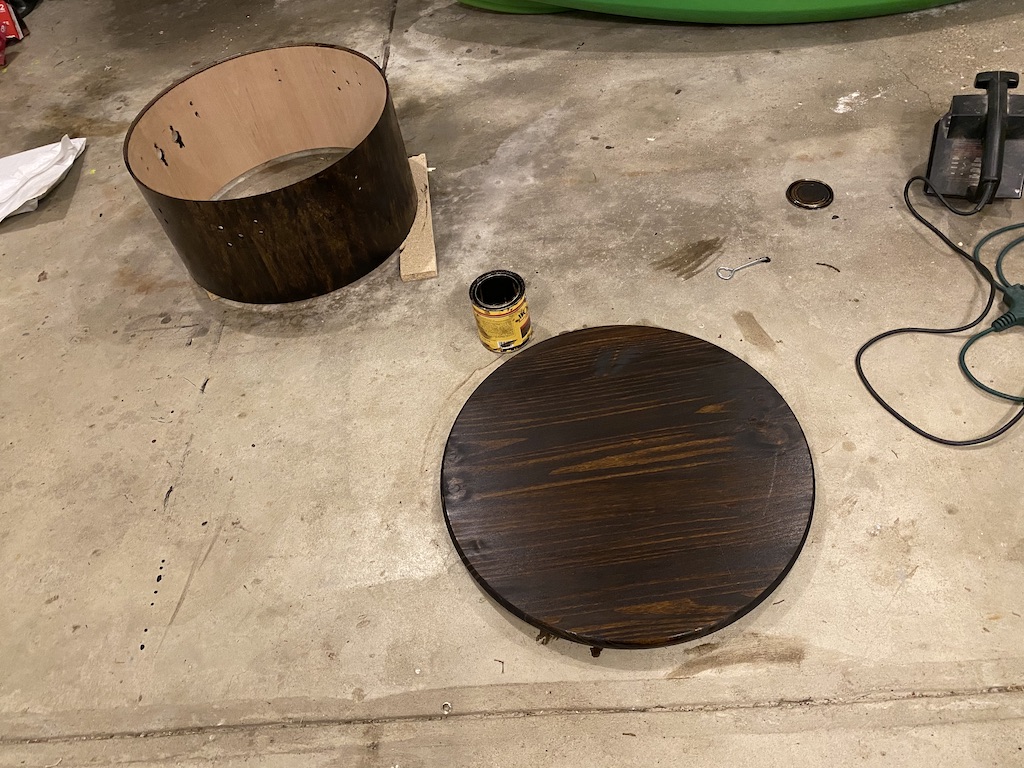 I put 1 1/4 inch torx screws through the center of 1 inch rubber stoppers (the rubber stoppers had a hole in the center) in 4 places on the board to hold the drum in place on the bottom board. This way we could easily take the ottoman apart if needed but the drum wouldn't slide around when you put your feet on it. You can't see it here, but I ended up staining the inside of the drum because some of the stain came through the holes for the floor tom brackets. I should've used painters tape to cover the holes from the inside.
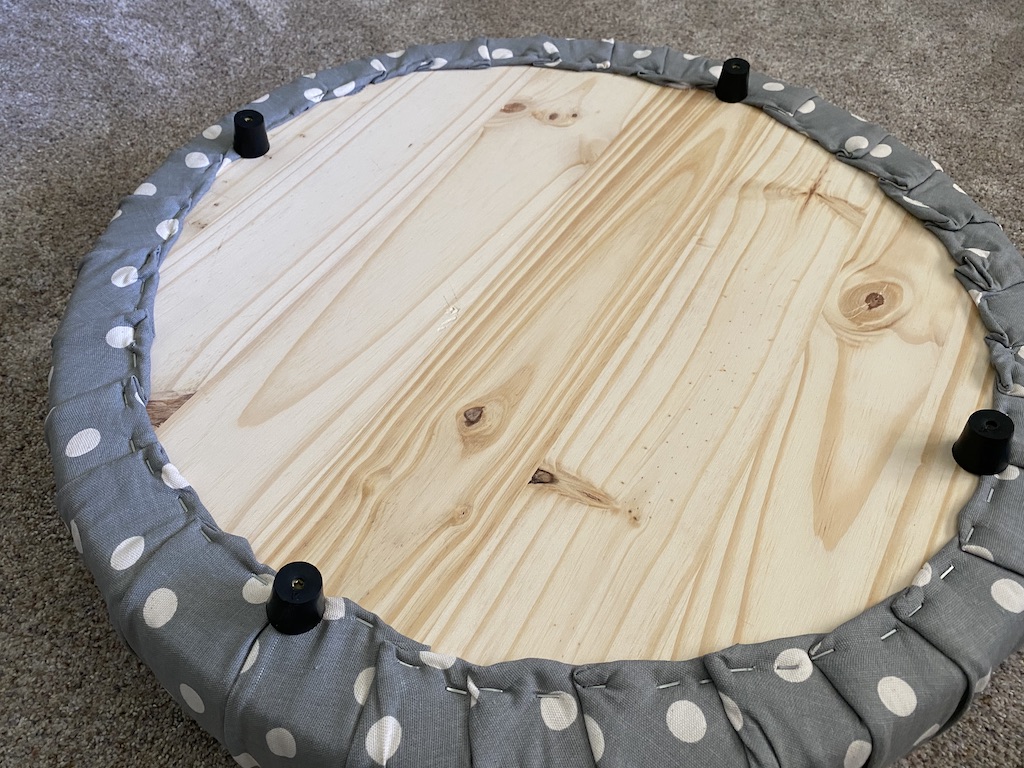
 The same rubber stoppers were secured to the bottom of the top board.
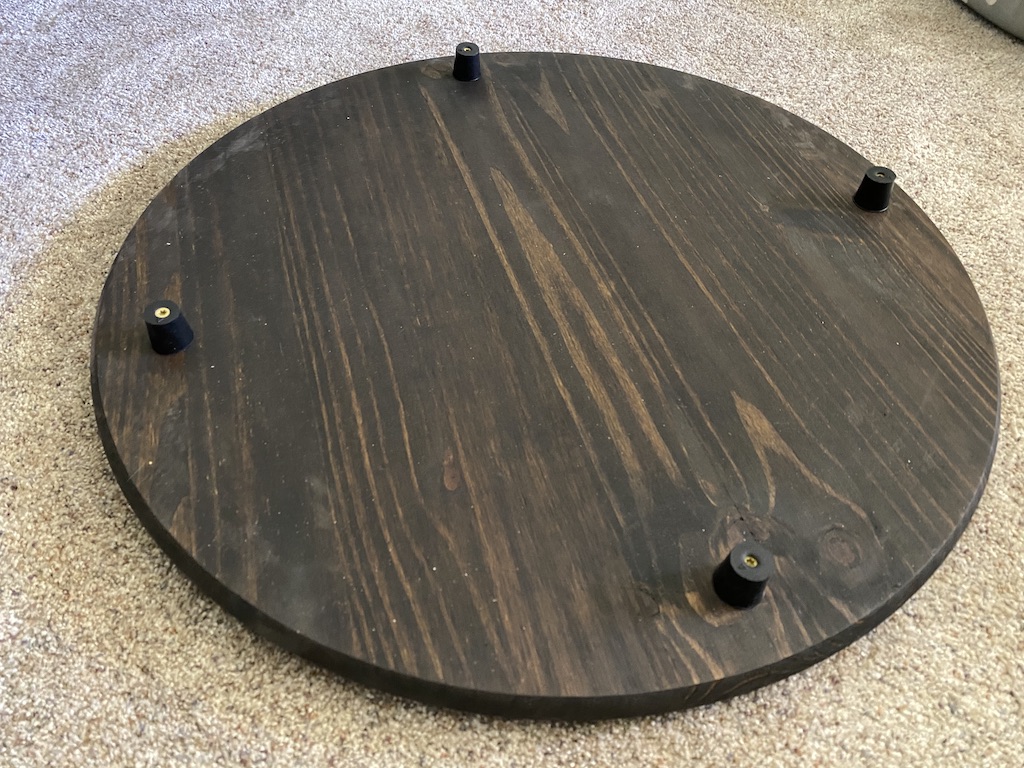
 Here's what the bottom board looks like without the bass drum shell on it.
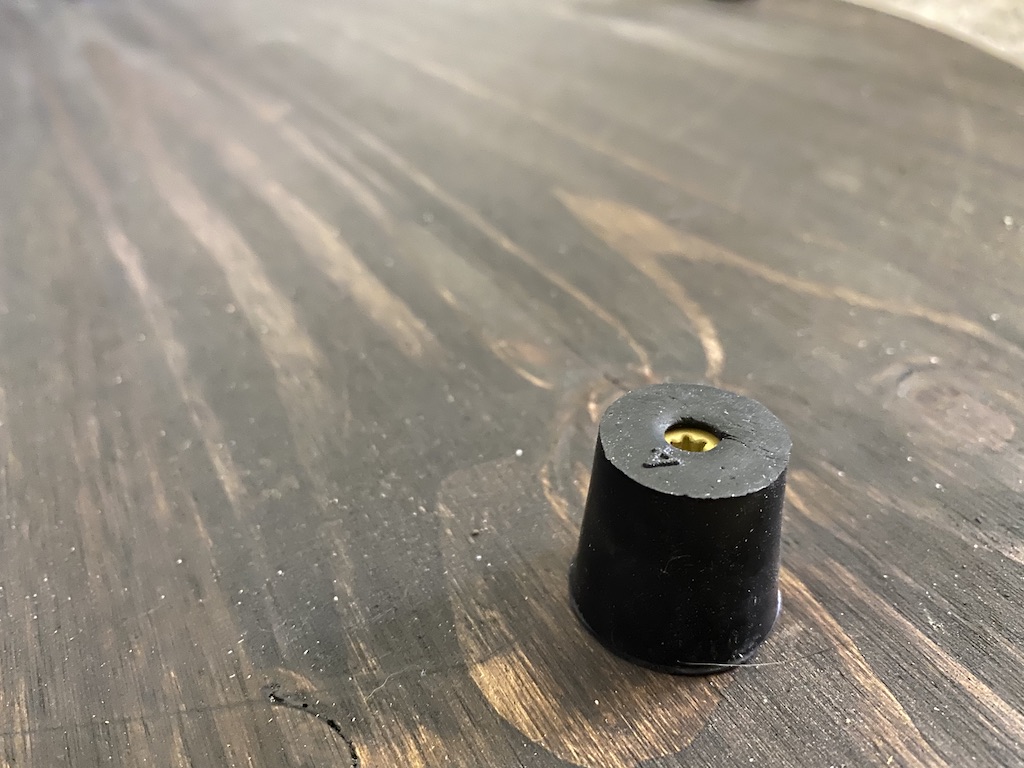
 Here's a closeup of a rubber stopper.
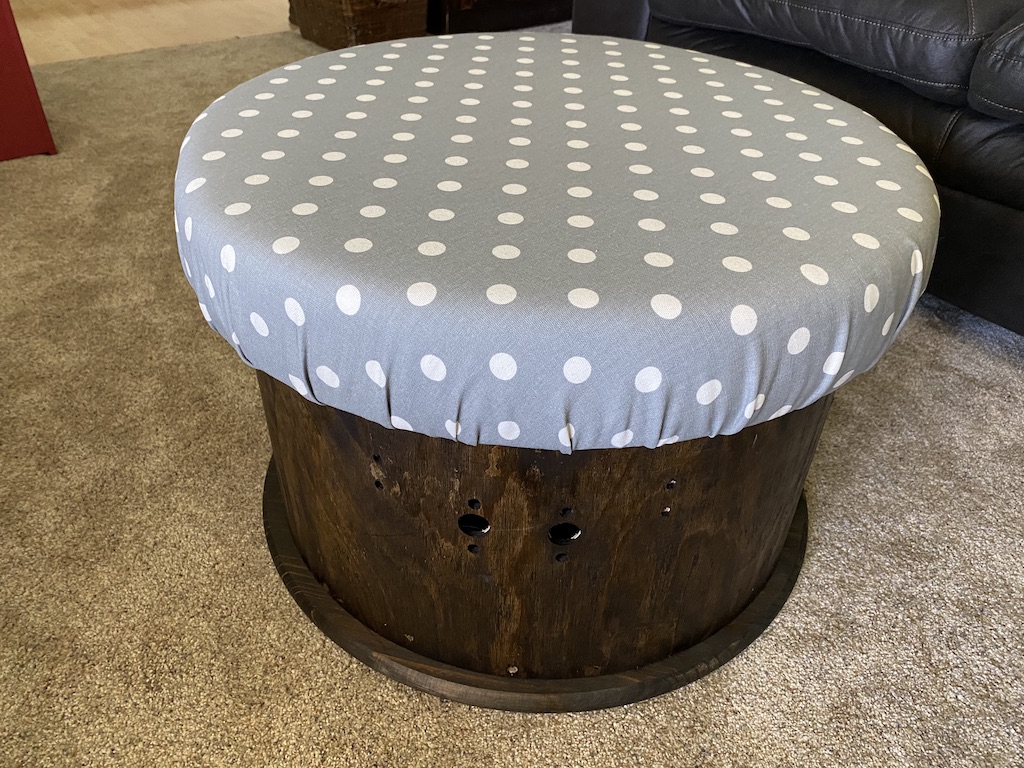
 Finally, the finished product. I decided not to add polyurethane to this but may still consider it in the future. If so, I would probably use satin.
blogs
- 2024 Zildjian Custom Special Dry Pack and Zildjian K Sweet Pack (posted 11-09-2024)
- 2024 Kirks A400 Traps Drums Drumset (posted 09-29-2024)
- 2024 Tree Project (posted 09-05-2024)
- 2023 Oculocutaneous Albinism (posted 03-28-2023)
- 2022 Allocate Time Log (posted 09-02-2022)
- 2022 Setting Up Your Mac (posted 07-30-2022)
- Emmaus Music (posted 01-29-2022)
- 2022 Gretsch Catalina Maple new drum head sound check (posted 01-22-2022)
- 2022 Griffin Remote Hi Hat Stand (posted 01-22-2022)
- 2022 New Amedia Cymbals (posted 01-08-2022)
- 2021 Hi Hat Fun (posted 08-30-2021)
- 2021 Senior Pictures for Seth (posted 08-28-2021)
- 2021 August Worship Drummer Weekly Freebie (posted 08-01-2021)
- 2021 July Worship Drummer Weekly Freebie (posted 07-27-2021)
- 2021 June Worship Drummer Weekly Freebie (posted 07-19-2021)
- 2021 Doug Dunaway Memorial Motocross Junior Track (posted 06-27-2021)
- 2021 Father's Day (posted 06-20-2021)
- iPhone 11 Pro Max camera vs iPhone 12 Pro Max camera (posted 06-03-2021)
- 2021 20 inch Zildjian EFX cymbal (posted 06-02-2021)
- 2021 Floor Snare Debut (posted 05-15-2021)
- 2021 Drum Desk Light (posted 05-11-2021)
- 2021 May Worship Drummer Weekly Freebie (posted 05-02-2021)
- 2021 Remove Drums for Practicing (posted 04-18-2021)
- 2021 Amedia 19 inch Thrace Series Crash (posted 04-08-2021)
- 2021 Zildjian Gong Sheet (posted 03-29-2021)
- 2021 Microphone Challenge - Samson Q2U vs MacBook Pro (posted 03-27-2021)
- 2021 Audio Quality Test for Screen Recordings (posted 03-25-2021)
- 2021 Cost of Video Editing (posted 03-31-2021)
- 2020 2nd Hand Hammered Snare Drum and Big Fat Snare Drum (posted 11-10-2020)
- 2020 Drum Lights (posted 11-03-2020)
- 2020 Cymbal Garden (posted 08-30-2020)
- 2020 Gibraltar Rack (posted 08-18-2020)
- 2020 Hand Hammered Snare Drum (posted 08-12-2020)
- 2020 Yamaha MOTIF XS8 key transposing demo (posted 07-04-2020)
- 2020 Refinishing d2 ddrums (posted 06-19-2020)
- 2020 Djembe Sampler (posted 06-06-2020)
- 2020 Floor Tom End Tables (posted 06-06-2020, updated 07-22-2020)
- 2020 Bass Drum Ottoman (posted 05-13-2020)
- 2020 Drum Kit Sound Test (posted 05-09-2020)
- 2020 Paradiddles (for Bob Packwood) (posted 05-09-2020)
- 2020 Big Fat Snare Drum demo (posted 05-09-2020)
- 2020 AKG vs CAD Pro Bass Drum mics (posted 05-09-2020)
- 2020 Amedia Galata and Dervish Stingray cymbal demo (posted 03-15-2020)
- 2019 Kirk's Gretsch Energy Drum Set (posted 12-31-2019)
- 2019 Studio Upgrade (posted 12-31-2019)
- Kirk's (Tama) Drumset as it went to Tim Terry (posted 12-07-2019)
- Engagement Photos (posted 10-19-2019)
- 2019 Recording Audio for Cross Country video (posted 10-07-2019)
- 2019 Nikon Follow Your Passion Video Contest by Kirk Hopkins (posted 08-10-2019)
- 2019 Church Drumset (posted 07-17-2019)
- 2019 Drum Cage (posted 06-19-2019)
- Camera Comparison (posted 05-25-2019)
- 2019 The Making of Light Background Music (How I Record Music) (posted 05-12-2019)
- Church Stage Design (posted 03-16-2019 with updates for each new design)
- 2018 GoPro Hero6 Black vs Hero7 Black (posted 10-23-2018)
- 2018 21 and 17 inch Zildjian K Custom Special Dry EFX cymbals (posted 05-01-2018)
- 2018 Capo Review (posted 05-04-2018)
- 2018 Gretsch EQ test (posted 03-31-2018)
- Kirk's Zildjian Dry Cymbals (posted 03-31-2018)
- 2018 GoPro Hero 5 vs GoPro Hero 6 (posted 03-05-2018)
- Kirk's (Tama) Drum Lesson Drumset (posted 04-03-2017, updated 03-08-2018, updated 03-31-2018, updated 02-09-2019)
- 2017 New Driveway (posted 04-01-2018)
- Senior Pictures (posted 01-10-2018)
- College - Does it make financial sense to go? (posted 11-30-2017)
- 2017 Harrison Junior High Cross Country (posted 11-10-2017)
- UNI Journal (Private) (posted 11-04-2017)
- Countdown Creation (posted 10-23-2017)
- Sanctuary Remodel (posted 06-18-2017, updated 03-05-2018)
- Outdoor Movie Screen (posted 06-12-2017)
- iPhone 7 Plus Audio Test (posted 05-02-2017)
- Worship Leading Song Selection Methodology (posted 04-17-2017)
- Church Presentation Software Comparison (posted 04-15-2017, updated 08-13-2017)
- Kirk's Wuhans and Zildjian Cymbals (posted 04-10-2017)
- Kirk's Dream Drumset - Gretsch Catalina Maple - Satin Deep Cherry Burst (posted 04-03-2017, updated many times)
- Song Database Journal (posted 04-03-2017)
- 2017 Timelapse Spinning in 4K (posted 02-22-2017)
- 2017 Timelapse and Duzi Slider Testing (posted 02-22-2017)
- 2017 Camcorder and Camera Comparison (posted 02-12-2017)
- 2017 GoPro Hero4 vs iPhone 7 Plus (posted 02-12-2017)
- 2016 Cigar Box Guitar (posted 02-14-2016)
- 2015 Camera and Camcorder Comparison (posted 09-17-2015)
- 2014 Drum test with new small tom drum heads (posted 01-04-2014)
- 2013 How to Mic a Large Drumset (posted 04-04-2013)
- 2012 Using GarageBand with an MBox 2 Mini (posted 10-15-2012)
